 Skip to content
We understand tiny spaces and this trackless curtain pattern is perfect for those tiny windows where there isn’t enough space to install track systems.
Also, be sure to check out our blog post: Easily Make Your Own Curtains
This pattern is available for personal use only. This design pattern was created over several months and many alterations to the design before the design was finalized. This pattern cannot be published or used for commercial interests. Any attempt to do so will be in violation of copyright law. Copyright 2014.
- This pattern requires intermediate sewing skills and can be a laborious due to the many tabs both on the top and bottom back of the curtain to allow it to hang between two elastic cords.
- View our Pillow Patterns here to make matching or coordinating pillows for your space space to create a coordinated interior decor.
- DIY – Basic Envelope Pillow Cover
- DIY – Flange Envelope Pillow Cover
Originally Designed For Boats
This pattern was orginally created to provide a way to add new modern tab curtains to any boat without having to search, find or replace curtain hardware. Hang one individually or string several together. Tabs are located on both the top of the curtain and towards the bottom on the back of the curtains to accommodate inclined surfaces and to allow the curtains to slide over when not needed. Curtains pleat beautifully when slid together to the side of the window.
THE TRACKLESS CURTAIN PATTERN
Measuring and Planning:
If you are hanging curtains for several windows on the same elastic be sure to make all curtains the same length as the longest window so they hang uniformly. Each window can be covered with one wider curtain panel that pleats to one side or with two shorter curtain panels that pleat to each side of the window. Check how much space you have to use on either side of your windows before making a decision on the width of your curtains.
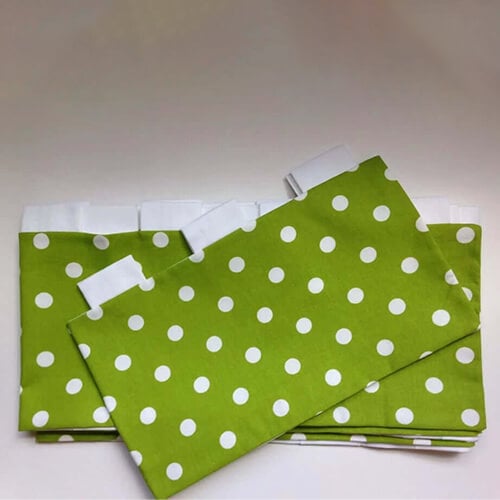
To calculate the number of tabs needed, you will need consider the length of your curtains and a spacing of 2 1/2” between the placement of each tab on the curtains. A curtain length up to 14” usually would have 3 tabs, up to 18” 4 tabs, up to 22” 5 tabs, etc. Tabs can be spaced closer together at 2” which is shown in the example photos.
For each curtain assembly, you will need a front panel with 1/2” seam allowances, a back panel that is the same width and 1 3/4” inches shorter in length, a 2” strip of back panel fabric, 3” tabs for the top tabs and 2” tabs for the bottom back tabs.
Tabs:
Measure a 6 inch strip of fabric in the longest fabric length you have available. Fold the fabric in half, right sides together and sew a ¼ inch seam down the side of the fabric. Iron seam edges flat against the fabric. Invert the fabric so the right sides are showing. Iron so the finished seam is centered. Lay multiple strips of fabric on top of each other and cut at 2” inches for bottom tabs and 3” inches if making top tabs. Iron top tabs in half with the seam on the inside. Do not iron bottom tabs in half.
Back Panel Assembly:
Assemble the back panel by laying the larger back panel piece with the right side of the fabric towards you. Then place both the tabs (being sure to space them correctly to match the top tabs) and the 2” strip both with the wrong side facing you. Pin the tabs in place. Stitch a 1/4” seam. Below is an image of the back panel assembled.
Top Tab Assembly:
With the right side of the front panel facing you, attach the top tabs with the open ends of the fabric lined up with the edge of the panel fabric. Pin tabs in place. Be sure they are spaced to line up with the bottom tabs so the curtain pleats correctly when slid to the side.
Final Assembly:
Place the back panel, with the wrong side facing you, over the front panel with the right side facing you. Stitch a 1/2” seam on all sides, leaving a 4” opening on one side to be able to invert the curtain when finished. Close the opening with a whipstich or Stitch Witchery.
Hang curtains using elastic cord and cord locks to create a loop that can then be used to attach and hang the curtains using eye screws, decorative knobs or even wall hooks.
We hope you enjoy sewing your trackless curtains for your small space whether it’s a boat, RV, camp or tiny home! Below are some more images for inspiration. Please share your images in the comments below when your curtains are done!


