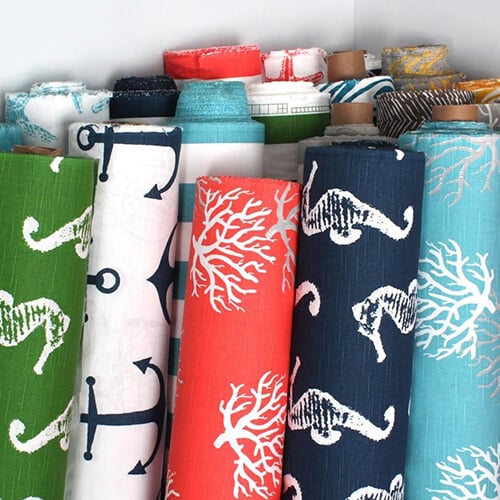
Today, we're going to show you a simple pattern that anyone can use to learn how sew a flange envelope pillow cover!
What's a Flange Envelope Pillow Cover?
Flange pillows are pillows that have a "rim" or "flange" around the edges. The envelope is the flap in the back of the pillow that allows you to stuff your pillow in. Most pillow covers are envelope style pillow covers.
Some people prefer non-flange pillows, which we'll have a pattern for soon.
How To Sew A Flange Envelope Pillow Cover - Materials Needed
You'll need the following materials, which will allow you to make (2) pillow covers for (2) 18" pillows.
- 1.5 yards of 54" wide fabric (Decorating tip: since pillows aren't permanent, why not have fun with the patterns!)
- (2) 18" pillow forms, or old throw pillows
- Scissors
- Sewing machine (optional... you can sew these by hand if you wish)
- Thread
- Needle (if you want to sew by hand)
- Iron or steamer
Directions for Each Pillow
Step 1: Cut your fabric pieces:
- (1) square, 20" x 20"
- (1) rectangle, 20" x 17"
- (1) rectangle, 20" x 13"
Note: If you want to make a smaller or larger pillow cover, just use the same measurements, but add or subtract 2" on each side, for each inch enlarged or reduced.
For example, here are the pieces you'd need for each of the following pillow sizes:
16" pillow: (1) 18" x 18" square, (1) 18" x 15" rectangle, (1) 18" x 11" rectangle
20" pillow: (1) 22" x 22" square, (1) 22" x 19" rectangle, (1) 22" x 15" rectangle
22" pillow: (1) 24" x 24" square, (1) 24" x 21" rectangle, (1) 24" x 17" rectangle
Step 2: Hem the 2 smaller pieces on one side
You'll want to take the two smaller, rectangle pieces and hem one long (20") side of each rectangle.
Step 3: Assemble the pieces
Place the 20" square face up.
Lay the 17" rectangle face down on top, matching the raw edges at the top.
Lay the 13" rectangle face down, on top of the other two, matching the raw edges at the bottom.
Step 4: Pin around the edges, all the way around
Step 5: Stitch a 1/2" seam all around
Step 6: Clip the 4 corners
Note: You just want to clip the edges of the corners. Be careful not to clip inside the seam you just sewed.
If you would like the instructions to learn how to sew a basic pillow cover, we have it HERE!
If you've enjoyed this DIY How To Sew An Envelope Flange Pillow Cover do check out all of our other amazing DIY project on our Blog HERE!


